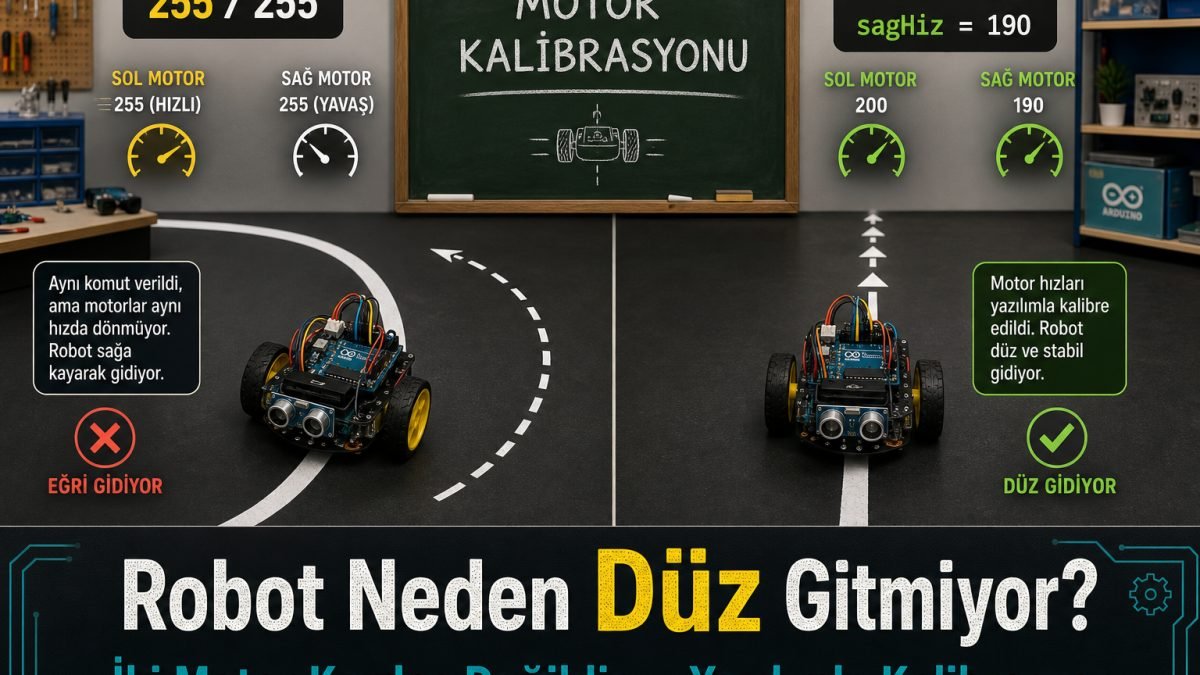
A classic workshop scene: the student writes decent code, calls goForward(), and expects the robot to shoot straight like an arrow. The moment it runs, it curves left or right as if one leg were shorter.
The code looks fine. The wheels are not stuck. So what is wrong?
Hard truth: no two motors are twins
This is the fight between perfect digital commands and imperfect physics. In code you give both motors the same PWM (example: 255). In the real world, even two DC motors from the same factory are never identical.
- One copper winding may be a fraction tighter
- One gearbox may have a bit more grease
- Wheel friction or floor contact can differ slightly
You tell both to run at 100; one runs at 100, the other at 95. The robot naturally turns toward the slower side.
The tip: tame hardware with software
A good robot builder accepts hardware flaws and fixes them in software. That is motor calibration.
1) Do not go full throttle
Do not give motors the absolute max (example: 255). Leave headroom (example: 200) so you can trim one side down or up.
2) Use speed variables
int leftSpeed = 200;
int rightSpeed = 200;
3) Fine-tune by trial
Place the robot on a flat floor and drive forward.
- Pulls left: Right motor is faster. Lower
rightSpeeda bit (example: 190). - Pulls right: Left motor is faster. Lower
leftSpeeda bit.
Adjust in small steps until it goes straight. Sometimes a difference of 5 is enough.
void goForward() {
  motorLeft(leftSpeed);
  motorRight(rightSpeed);
}
Workshop note: Calibrate on the contest floor surface. Different friction changes the result. Low battery can increase drift; also check with a full battery.
Conclusion
Building a robot is not only assembling parts; it is making them work together. Cover motor flaws with software. Correct left/right speeds = a robot that goes straight.